
Are you thinking about building your first gaming PC? Well, that’s awesome! I remember how excited I was when I was building my first gaming PC.
Well, it’s confusing when you don’t know much about the hardware (technical knowledge), but once you understand the basics and have a clear checklist, it’s not as complicated as it seems.
In this guide, I’m gonna walk you through a gaming PC build checklist that’ll help you with your first build, step by step, without any technical jargon.
No matter whether you want to play AAA games or just build something budget-friendly and upgrade later as per need, this checklist will help you get started confidently.
So, without wasting any more time, let’s build your dream gaming PC setup.
Read also,
Gaming Goals and Your Budget

Before starting to pick parts, let’s talk about something important.
What do you want your gaming PC to do, and how much are you can spend on it?
When I built my first PC, I made the mistake of looking at high-end components without asking myself, “Do I actually need all this power?”
And the result? It cost me much more than I thought.
That’s why setting your goals and budget is your first and smartest move to build your gaming PC.
So, here are three types of PCs you can consider for gaming.
Entry-Level Gaming PC
If you’re just stepping into the PC gamers world, an entry-level gaming PC is perfect to start, and trust me, you don’t need to spend a a big money to enjoy great performance.
The entry-level gamer’s goal is to play games smoothly at 1080p, stay under budget, and also the hardware must be upgradable.
Here are the key points of an entry-level gaming PC.
- Resolution: 1080p (Full HD)
- Settings: Medium to high (depending on the game)
- Games: Valorant, Apex Legends, GTA V, Minecraft, Rocket League, older AAA titles
This kind of setup won’t cost you big money, but absolutely handle most modern games without stuttering or lag.
You can follow this sample spec list that offers great value for your buck:
| Component | Recommendation |
|---|---|
| CPU | AMD Ryzen 5 5600G (with integrated graphics) or Intel i3-12100F + budget GPU |
| GPU | NVIDIA GTX 1650 / AMD RX 6400 (if not using integrated graphics) |
| RAM | 16GB DDR4 (2x8GB, 3200MHz) |
| Storage | 500GB NVMe SSD (boot disk + games) |
| Motherboard | B550 (for Ryzen) / B660 (for Intel) |
| Power Supply | 450–550W 80+ Bronze certified |
| Cabinet | Mid-tower with good airflow |
Pro Tip: The Ryzen 5 5600G has Vega integrated graphics which is perfect if you’re not ready to invest in a GPU initially.
It’s a great buy for beginners because it’s an affordable, upgradable, and compact CPU.
Mid-Range Gaming PC
A mid-range gaming PC is for serious gamers. If you want to play the latest AAA games smoothly in 1080p or even 1440p resolutions without going out of your pocket, this is the build to look at.
When you want better frame rates, higher graphics settings, and room for multitasking, you should go for a mid-range gaming PC build.
A mid-range PC will give you:
- 1080p ultra or 1440p high resolution settings.
- It’s great for building modern AAA games (like Cyberpunk 2077, Hogwarts Legacy), eSports games, and indie games.
- An ideal setup for light streaming, content creation, and multitasking.
Here is the component list for a mid-range PC:
| Component | Recommended Option |
|---|---|
| CPU | AMD Ryzen 5 7600 / Intel Core i5-13400F |
| GPU | NVIDIA RTX 3060 / 3060 Ti or AMD RX 6750 XT |
| RAM | 16GB DDR5 (2x8GB, 5600MHz) or high-speed DDR4 |
| Storage | 1TB NVMe SSD (fast load times and space for games) |
| Motherboard | B650 (for Ryzen) / B660 or B760 (for Intel) |
| Power Supply | 650W–750W 80+ Bronze or Gold certified |
| Cabinet | Mid-tower with good airflow and cable management |
| Cooling | Stock cooler or budget air cooler like DeepCool AK400 |
Cool Tip: Choose a GPU with at least 8GB VRAM for better performance in newer games.
It is a powerful but affordable PC build under ($800–$1000), and when you want, you can upgrade this with future CPUs and GPUs.
It is an ideal build for content creators who want to play games while streaming, which makes it a balanced build for gamers.
High-End Gaming PC
If you are a pro gamer aiming for the best of the best. Like, 4K gaming, buttery-smooth frame rates, ray tracing on full blast, and a setup that runs smoothly at heavy workloads, then a high-end gaming PC is your destination.
I remember that day when I first built my high-end rig.
It felt like unlocking a new level of gaming.
There were no stutters, frame drops, and all smooth gaming I experienced.
So you’re serious about gaming or even content creation, this is where you should keep your eye on.
That PC actually unlocked my actual gaming goals, which I had always dreamed of. It runs smoothly on 4k settings and supports any modern AAA games at max settings.
It even helps me with seamless streaming, video editing, 3D rendering, and multitasking.
Here is my recommended component list for your high-end PC for gaming:
| Component | Recommended Option |
|---|---|
| CPU | AMD Ryzen 9 7900X / Intel Core i7-14700K / i9-13900K |
| GPU | NVIDIA RTX 4080 Super / 4090 or AMD RX 7900 XTX |
| RAM | 32GB–64GB DDR5 (6000+ MHz) |
| Storage | 1TB Gen4 NVMe SSD + 2TB HDD/SSD for storage |
| Motherboard | X670 (AMD) / Z790 (Intel) with PCIe 5.0 and DDR5 support |
| Power Supply | 850W–1000W 80+ Gold/Platinum rated |
| Cabinet | Full-tower or premium mid-tower with high airflow |
| Cooling | 360mm AIO Liquid Cooler or Custom Loop Cooling |
Pro tip: Make sure your PSU has enough headroom for future upgrades or GPU spikes.
This build will give you ultimate performance even in 4k settings. It’s not only great for gamers but perfect for video editors, 3d designers, and streamers.
You will get a high refresh rate and a smooth gaming experience with this PC build.
Essential Gaming PC Components Checklist
Now, when you are all set with your gaming goals, it’s time to understand the PC components one by one.
From processors to cooling systems, each part plays a crucial role in performance, speed, and overall gaming experience.
Let’s discuss them.
CPU (Processor)
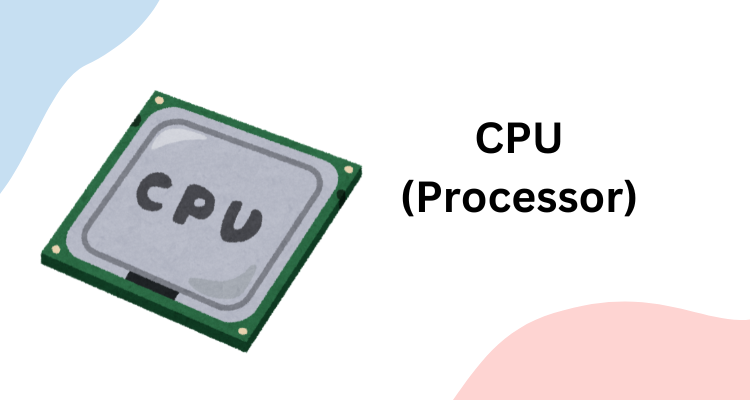
CPU is the heart of the PC that handles all the game logic, background tasks, and performance-heavy applications.
- Best entry-level picks: Intel Core i3/i5 or AMD Ryzen 3/5
- For multitasking and streaming: AMD Ryzen 7/9 or Intel Core i7/i9
Check for clock speed, core count, and compatibility with your motherboard. The higher clock speed and core count your CPU has, the better performance it will give.
GPU

For gaming, a GPU is the most critical part of a PC. Your GPU determines how well your system handles graphics-intensive games.
Without a good GPU, the graphics handling is transferred to the CPU, which then starts lagging. So, important to have a high-quality GPU in a gaming PC.
- Budget options: NVIDIA GTX 1660 Super, AMD RX 6600
- Mid-range choices: NVIDIA RTX 3060/3070, AMD RX 6700 XT
- For high-end PCs: NVIDIA RTX 4080/4090 or AMD RX 7900 XTX
Note: Always check VRAM, ray tracing, and resolution support. For Nvidia cards, check for CUDA core count and also check which generation of DDR your GPU supports, like DDR3, DDR4, and DDR5.
Motherboard
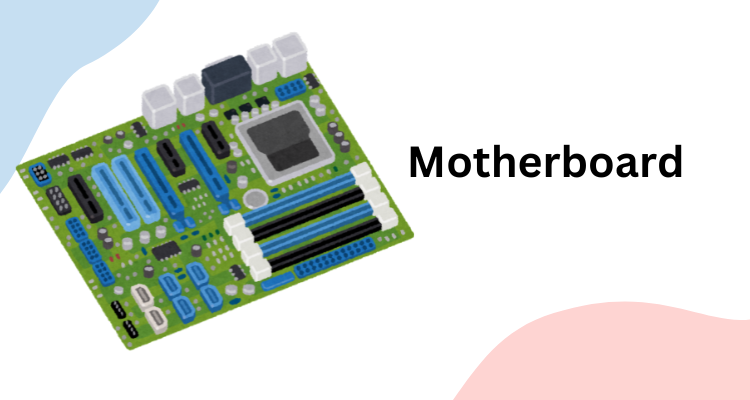
As a PC enthusiast, you know that your motherboard connects all your components. Choose one that fits your CPU and, most importantly, future upgrade plans.
High-end motherboards come with long-lasting components that remain cool even in high usage.
Also, look for a motherboard with built-in WiFi, USB-C, NVME slots, and other newer technology supports.
- Go for these chipsets: B550, X570 (AMD); B660, Z690 (Intel)
- Features you should consider on: PCIe 4.0/5.0, Wi-Fi, USB-C, M.2 NVMe slots, RAM speed support
RAM
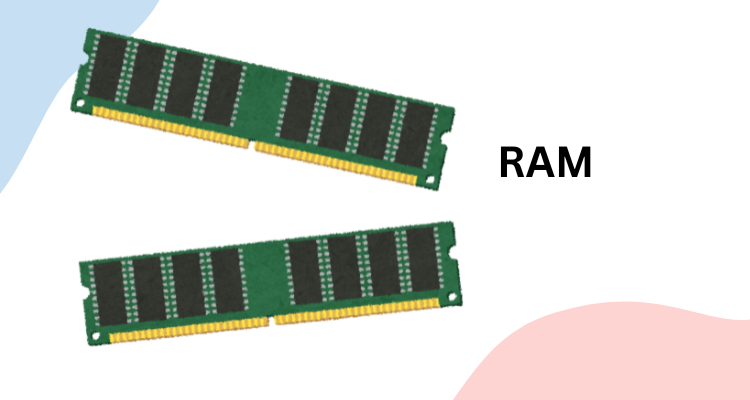
To prevent your PC from generating a bottleneck effect, you must have sufficient RAM with a high frequency rate.
- Minimum requirement for ideal gaming PC: 16GB DDR4 (ideal for 1080p gaming)
- For high-end gaming PC: 32GB DDR5 for 1440p/4K or content creation
As I have told you above, don’t forget the RAM speed (MHz), which actually matters for performance.
Storage
In my childhood, a 5200 RPM HDD was sufficient to load games into RAM and run smoothly. But today’s AAA titles need new technology and higher speed storage options to load the game fast.
That’s why you need to have SSD and NVMe storage.
- SSD (NVMe preferred): 500GB–1TB for Windows and AAA games
- HDD (Optional): 1 TB+ for additional storage
Consider a dual storage setup: SSD for speed, HDD for space. It balances the ideal and running storage equally.
Always install your OS on the NVMe or SSD storage, and then you can install your game pack on the HDD by giving it a path during installation.
- Check out my article on How Much Ram Do You Need for Gaming in 2025? (Beginners’ Guide)
Power Supply
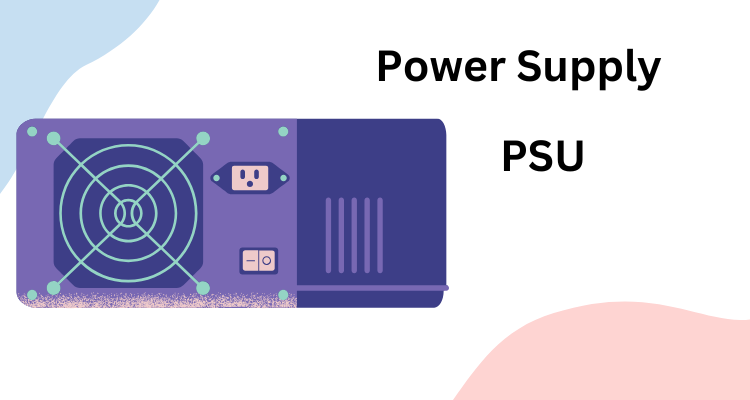
For high-end gaming, streaming, and other high-end work, a stable PSU is an important component. It is vital for safety and efficiency.
You must look for,
- Wattage: 550W for entry-level, 650–850W for mid to high-end builds
- Certification: Look for 80+ Bronze, Gold, or better
Go for a modular or semi-modular PSU for better cable management. After all, your PSU should have the slots for motherboard, HDD, graphics card, external fans, etc.
Casing
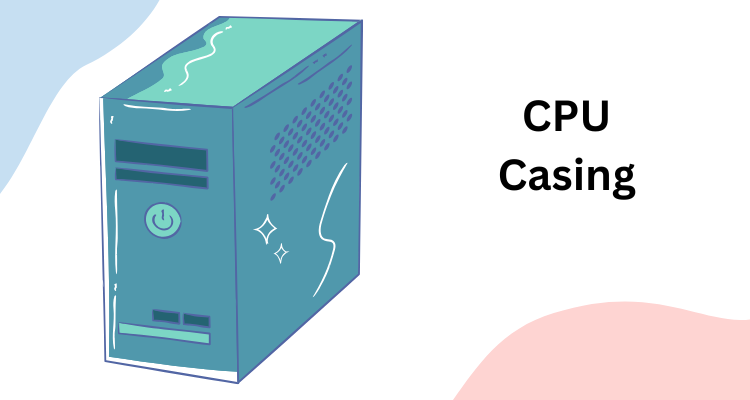
Most people compromise with casings when assembling a PC. Well, for high-end PCs, you need a casing with good airflow to keep all components cool, even in high usage.
Go for ATX mid tower, full tower, etc, for better airflow. For an entry-level PC, you can consider micro ATX, but it doesn’t provide good airflow.
Also consider for GPU and cooling setup before going for an ATX. Research if the ATX supports your components, such as the motherboard and PSU.
Also, check if it has enough space for the PSU and has extra fans or at least space to assemble external fans.
Look for dust filters, cable cutouts, and front I/O ports, such as USB-C in front.
Cooling Solutions
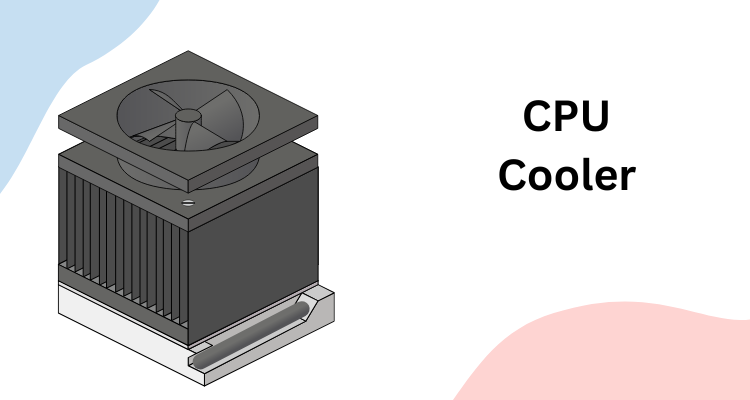
Cooling systems like external fans, liquid cooling for CPU, etc, are great to keep your PC cool during high load.
- Stock coolers that come with the CPU itself are fine for non-overclocked CPUs
- Air coolers for budget/mid builds (e.g., Cooler Master Hyper 212)
- AIO Liquid cooling is great for high performance in silent mode and provides efficient thermal performance
- Don’t forget external case fans and airflow optimization
Gaming PC Peripherals
A high-performance gaming PC should have equally capable peripherals to help you game with ease.
These external peripherals directly impact your workflow, your gameplay, responsiveness of your controls. Choosing the right peripherals is not just for your gameplay, but also helps you sit for a long time in front of the screen.
Let’s break down the must-have peripherals you need to experience immersive gameplay on your system.
Monitor

When it comes to PC gaming, choosing the right monitor is a must. After all, you are spending hours gaming and streaming.
A low-quality monitor can damage your eyes permanently.
Now let’s talk about some technology. Gaming software needs a higher refresh rate to provide a better gaming experience.
Well, this is optional if you are assembling an entry-level CPU. But your monitor should have at least 1080p resolution with a 60Hz–75Hz refresh rate to give you smooth performance without putting stress on your system.
Mid-range and high-range builds need 1080p or 1440p monitors with at least a 144Hz refresh rate for a more fluid gaming experience.
Another technical term in monitors is Response Time. You should aim for 1ms to 5ms for minimal input lag.
For cinematic gaming, an IPS panel provides better color accuracy and viewing angles, but its response time is lower compared to TN panels.
If your GPU and pocket allow, you can even go for 4K monitors with G-Sync or FreeSync that can provide stunning visuals.
For more information about gaming monitors, read this article.
Keyboard and Mouse
Without weapons, nobody can win the battle.
Right?
The keyboard and mouse are the weapons of a PC gamer. So, good quality is always needed.
They are your primary control tools, so comfort and responsiveness matter a lot.
If you are a budget-conscious gamer, a good membrane keyboard and optical mouse combo can do the job.
But if you want high response and durability, go for a mechanical keyboard with red, blue, or brown switches to make it easy to control your characters in the game.
When it comes to a mouse, always choose one that fits well in your hand.
It should match your gaming style.
High FPS gamers usually prefer lightweight mice with high DPI sensors and customizable buttons.
On the other hand, MMO players want a larger mouse with more side buttons.
According to your needs, look for features like adjustable DPI, customizable RGB lighting, and on-board memory, etc, required for a better gaming experience.
For mobile gamers wireless mouse and keyboard are ideal; however, wired ones are also good.
Audio
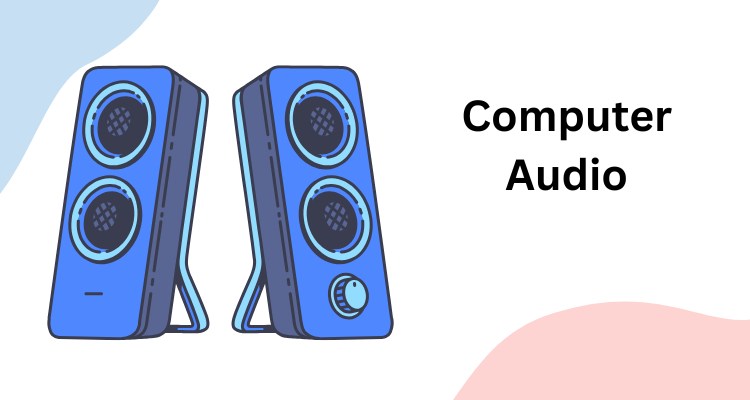
Audio is an integral part of gaming and other multimedia options. If you’re on a budget, a basic stereo headset or desktop speakers are ideal.
If you want to go serious, search for a dedicated gaming headset with surround sound support like 7.1 or spatial audio.
There are many options available on the market for 7.1 or spatial audio. This gives you positional awareness, which is crucial in games like Call of Duty or Valorant.
Note: Wired headsets provide lower latency and better sound quality than the same price range wireless headsets.
High-end wireless models are equipped with AI technology and minimal lag, and long battery life.
If you want streaming, a microphone is an essential need.
Many gaming headsets come with built-in mics, but for pro-level clarity, consider a separate USB or XLR microphone.
Operating System
As this blog is focused on PC builds, we’ll talk about Windows OS as they are the major OS for PC builds.
Most gamers like Windows 10 and Windows 11.
However, Linux is free and improving for gaming thanks to platforms like Steam Proton.
Well, I think it’s still not ideal for beginners because of compatibility issues and the learning curve.
If you’re serious about gaming and want full access to all types of games, mods, and streaming tools, you should invest in a Windows OS.
Optional Components and Pheripherals
While these peripherals are not absolutely necessary for a functional gaming PC, they can enhance your gaming experience, though.
Let’s discuss them.
Game Controller

A game controller is a better enhancement for your keyboard and mouse, especially if you enjoy action-adventure games, racing simulators, etc.
Game controllers let you feel more natural with a console-style input.
Why Should You Use a Controller?: Games like Forza Horizon, FIFA, or Elden Ring offer smoother gameplay when played with a game controller.
You can connect game controllers via USB, Bluetooth, or proprietary wireless adapters.
Table and Chair
When it comes to serious gaming and streaming, you are going to spend hours in front of your PC screen.
That’s where the need for high quality gaming chair and table arises.
After all, comfort matters.
Investing in the right desk and chair setup helps prevent fatigue, improves posture, and even boosts performance during long sessions.
Look for a sturdy build with a solid frame and a wide surface. Also, it should have cable grommets, trays, and organizers to keep your gaming setup clean.
Gaming chairs should have an ergonomic design with lumbar support, adjustable armrests, and neck pillows.
The overall purpose of these tables and chairs is to protect you from posture-related diseases.
Check Compatibility
Checking compatibility between hardware is crucial when building your gaming PC.
Skipping this step can lead you to waste your hard cash, installation problems, or even hardware damage.
Let’s find out how to avoid this trap.
CPU & Motherboard Compatibility
Your CPU must fit the motherboard socket. Let’s take an example.
An Intel Core i5-13400 requires an LGA1700 socket, while a Ryzen 5 5600X needs an AM4 socket. Other sockets are not compatible so you should keep this in mind before choosing a motherboard for a particular CPU.
Even if the socket fits, the chipset must also support the CPU features you need for gaming, like overclocking, PCIe lanes, and RAM speed.
For new-gen CPUs, ensure that the motherboard BIOS supports them.
RAM Compatibility
DDR4 and DDR5 are not interchangeable. You cannot use DDR4 RAM with DDR5 RAM in the same motherboard. Also, look for a supportable motherboard.
Some motherboards support only up to 64GB or 128GB of RAM and may limit RAM speed, such as 3200 MHz.
Look for sufficient DIMM slots in the motherboard. Generally, motherboards come with 2 or 4 DIMM slots.
GPU Compatibility
Check your case’s max GPU length. Keep in mind that some high-end cards like the RTX 4080 may not fit smaller ATX or micro-ATX cases.
GPUs require a PCIe x16 slot to fit on the motherboard. Make sure your motherboard has this slot and enough spacing to avoid blocking other components.
High-performance GPUs may require 600W or more total power with 8-pin or even 12-pin connectors. So always check for the compatible PSU.
PSU Wattage and Connectors
You can use tools like PCPartPicker or Coolmaster to calculate how much power your build will need.
Aim for at least 100W headroom.
Your PSU should have all the necessary connectors, especially for the GPU and CPU.
Case Size and Airflow
A full-size ATX motherboard won’t fit in a mini-ITX case. Look for the case that supports your motherboard’s form factor.
Make sure your case has external cooling support, such as fans and liquid cooling installation.
Also, it should have sufficient drive bays for 3.5″ HDD or a 2.5″ SSD; check that the case has the required mounting bays.
Gaming PC Assembling Tips For Beginners
Building your first gaming PC is exciting yet overwhelming.
But when you know the workflow, it’s easy to build this type of PC.
Let’s walk through the whole process with beginner-friendly and practical tips.
First off,
1. Prepare Your Workspace
Choose a clean and flat surface with ample lighting and room to spread out your components.
Avoid carpeted floors to reduce the risk of static electricity. Keep assembling tools handy, such as a small Phillips-head screwdriver.
It’s also helpful to have a bowl for screws. Keep your motherboard manual within reach.
It will guide you through the process in installation.
2. Install the CPU
First, begin with the motherboard outside the case for easier handling.
Gently lift the socket lever and align the CPU using the small golden triangle as a marker. Don’t overpress and touch the CPU pins; otherwise, it can damage the pins.
Set it in place without applying force, and lower the lever to lock it.
3. Add RAM and M.2 Storage
Before attaching the motherboard inside the ATX, install RAM sticks and M.2 SSD (optional – you can also use HDDs or normal SSDs.according to your budget).
RAM should be installed in the correct slots. Consult the motherboard manual for a better understanding.
For M.2 SSDs: Align the notch and insert at an angle, then gently press down and screw into correct place.
4. Install the CPU Cooler
This step may vary depending on your cooler type.
For stock air coolers, just apply thermal paste if it isn’t pre-applied and clamp the cooler down evenly on the board.
For AIO liquid coolers, mount the radiator in the ATX (usually top or front) and secure the pump on your CPU.
Remember to plug the fan or pump cable into the correct CPU FAN or AIO PUMP header on the motherboard.
5. Mount the Motherboard
Now, place the I/O shield into the rear of the case.
Match the motherboard’s screw holes and install the case, then lower the board into place. It should align with the I/O shield and standoffs.
Tighten the screws just enough to hold it firmly. Don’t over-tighten.
6. Install the Power Supply
Check the PSU compartment in the case and slide in the PSU with the fan facing towards the ventilation.
Connect the 24-pin motherboard cable and the 8-pin CPU power cable to the back side of the case for clean routing.
7. Install the Graphics Card
Locate the PCIe x16 slot on your motherboard and remove its I/O brackets that align with it.
Insert your GPU firmly into the slot until it clicks, then screw it in place.
Now plug in the PCIe power cables from the PSU (6-pin, 8-pin, or both, depending on your GPU.
8. Add Storage Drives (if not M.2)
Install your SSDs or HDDs into the drive bays:
- 2.5” SSDs mount in small trays or behind the motherboard panel. Locate the right place.
- 3.5” HDDs go into larger bays at the bottom front of the case.
Connect your SSDs or HDDs to the motherboard via SATA data cables and to the PSU using SATA power cables.
9. Front Panel and Fan Connections
This part is actually tricky for me. I always refer to the motherboard manual to connect the case’s power switch, reset button, power LED, and HDD LED to the proper pins. You should do the same.
Also, connect the front USB, audio jacks, and any case fans. Fan headers on the motherboard are usually labeled SYS_FAN or CHA_FAN.
10. Cable Management and Final Checks
Take your time to arrange the cables neatly behind the ATX’s back panel.
This not only improves airflow but also gives your PC a clean and professional look.
You can use zip ties or Velcro straps to bundle cables and keep them away from fans (its important otherwise it can damage the fans).
Double-check everything:
- CPU and motherboard power cables are secure.
- GPU is properly seated and powered.
- RAM and storage are correctly installed.
- All fans are connected to the correct headers.
Boot Your PC
Once all set, connect your monitor, keyboard, and mouse.
Now plug in the power cord from UPS, flip PSU switch, and press the ATX power button.
If everything is done right, you’ll see the BIOS splash screen—your PC has come to life!
If not, don’t worry. Recheck connections, especially the RAM and power cables. Take help from your motherboard manual if something is missing.
Post-Build Setup
Congratulations!
You have built your gaming PC.
But you’re not done yet. Without an operating system, drivers, and software, it’s not ready to use.
In this part, let us see how to do it all.
1. Enter BIOS and Configure Settings
On first boot, tap the DEL or F2 key to enter the BIOS/UEFI screen. Look, this is the brain of your system where basic settings live.
Now do these things first,
- Enable XMP (Extreme Memory Profile): This unlocks your RAM’s full speed instead of the slower default.
- Check System Temps: Ensure your CPU and motherboard temperatures are within normal range (typically 30–50°C at idle).
- Boot Order: Make sure your USB drive with Windows is set as the first boot device.
- Save & Exit
2. Install the Operating System
To install the OS, you’ll need a bootable USB drive with Windows 10 or 11 (or Linux, if you prefer).
If you have one, plug it in and follow the steps below:
- Boot from the USB drive.
- Choose your language and version.
- Select the SSD or primary drive as the installation destination.
- Let the installer run; it’ll take around 10–20 minutes.
Pro Tip: Install Windows on an SSD for faster performance and boot times.
3. Install Drivers
Windows may install basic drivers, but for best performance, install the latest drivers individually given with the hardware or on their website:
- Motherboard chipset (from the manufacturer’s website)
- Graphics card (NVIDIA or AMD official sites)
- LAN/Wi-Fi and audio drivers
4. Run Windows Update
Configure the internet settings and update Windows. Go to Settings > Windows Update and install all recommended updates.
5. Install Essential Software
To get your PC gaming-ready and productivity-friendly, you should install the following software:
- Web browsers (Google Chrome, Firefox)
- Game launchers (Steam, Epic Games, Battle.net)
- PC monitoring tools like HWMonitor or MSI Afterburner
- Antivirus/Antimalware (Windows Defender is good to start with)
- RGB/Hardware control software from your motherboard or GPU brand if needed
6. Activate Windows and Optimize Settings
If you haven’t already activated your Windows key, do this. Then:
- Adjust your display resolution and refresh rate
- Set your power plan to “High Performance.”
- Tweak mouse settings and UI preferences for comfort
7. Create a System Restore Point
And the most important! Create a restore point.
This is a safety net in case something goes wrong during future software or driver updates.
- Go to Control Panel > Recovery > Create a restore point
- Choose your system drive and click “Create.”
Conclusion
Building your first gaming PC is a fun yet overwhelming.
But this step-by-step checklist will guide you through it all.
From understanding your budget and goals to selecting the right parts and peripherals, and finally setting up your system, I have provided all the resources in this checklist.
Just remember! You don’t need to buy everything at once.
Start with what fits your budget and upgrade your PC over time. But focus on compatibility, to make sure future upgrades are compatible with your build.
After building your first gaming PC, the satisfaction of pressing that power button and seeing your system boot for the first time is absolutely worth it.
Happy building, and game on!
FAQs
1. How much does it cost to build a beginner gaming PC?
It depends on your goals, as I have written at the very first of this blog. For casual 1080p gaming, go for an entry-level PC for around $600–$800. For smoother performance or bigger games, a mid-range build around $1,000–$1,200 is a good starting point.
2. Can I build a gaming PC with no prior experience?
With proper instructions, patience, and this checklist, you can absolutely build a gaming PC as a complete beginner.
3. Which component should I prioritize for gaming?
The GPU (graphics card)! It is the heart of a gaming PC by providing the biggest impact on frame rates and visual quality. Also, focus on a good CPU, enough RAM (16GB recommended), and SSD storage for faster load times.
4. Is a gaming PC better than a console?
It depends on your preferences. For better performance gaming PC is ideal. However, consoles are more budget-friendly and plug-and-play. But in terms of power and flexibility, a gaming PC wins.
5. Do I need to buy Windows separately?
If you’re assembling your own PC, you’ll need to install an operating system.
6. How do I check if all my components are compatible?
I use tools like PCPartPicker to help me check compatibility between your CPU, motherboard, RAM, GPU, case, and power supply.
7. Should I go for an HDD or SSD?
SSDs are significantly faster and now quite affordable. Go for at least a 500GB SSD for your operating system and key games. You can also add an HDD for extra storage if needed.
8. What tools do I need to build a gaming PC?
A basic screwdriver is the only essential tool.
9. Do I need a graphics card if my CPU has integrated graphics?
If you’re serious about gaming, you need a dedicated GPU.
Related,
Gautam Roy is the founder of PCBuildHQ.Com and StartHomeStudio.Com. He has over 20 years of experience in web development, creative technology, system architecture, audio recording, music production and video editing.
